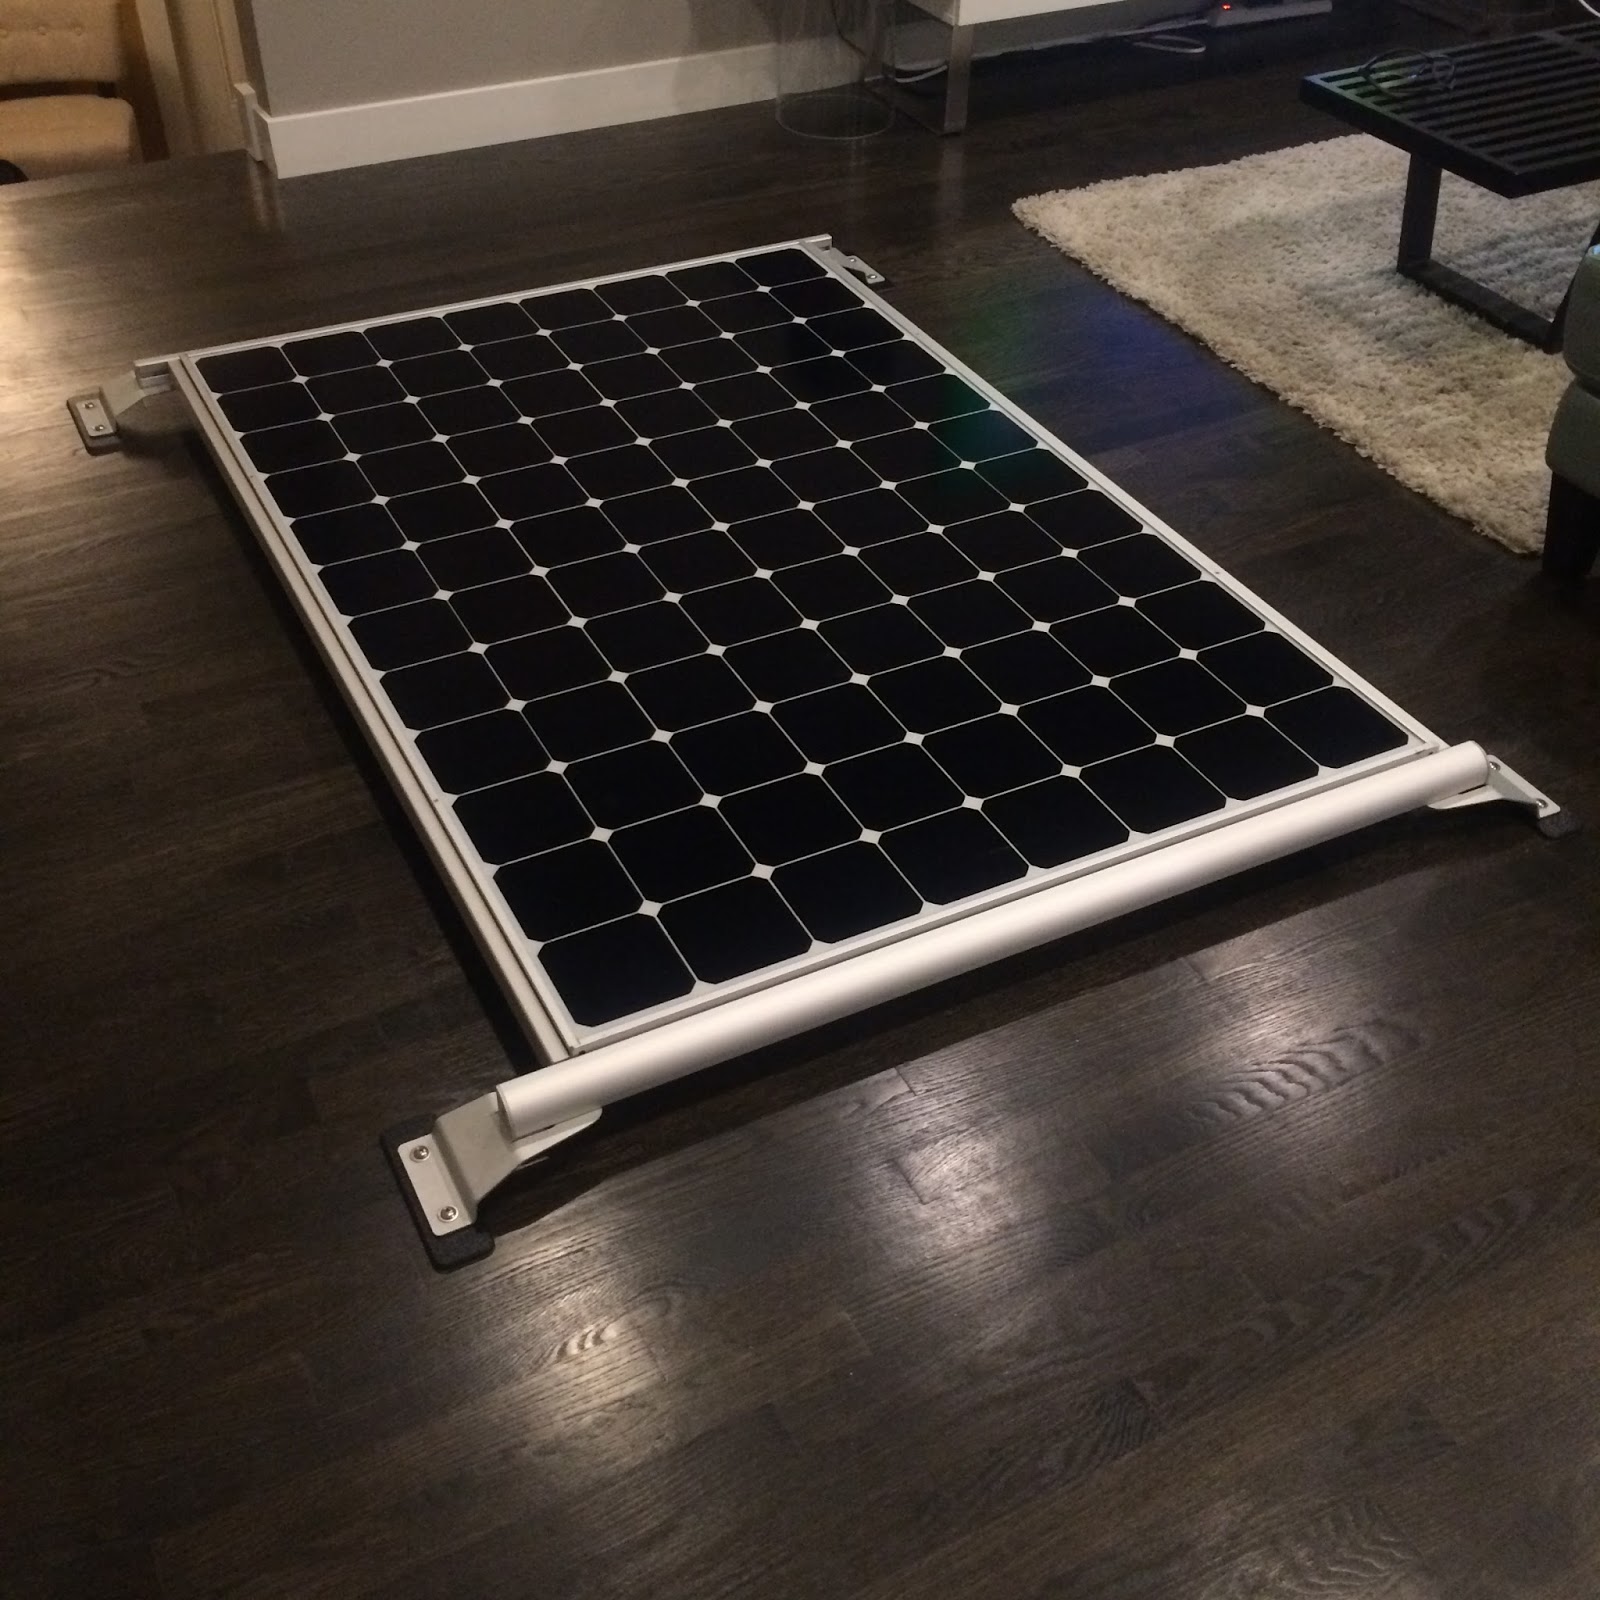
It’s good to know people. We purchased our solar panel, a single Sunpower X21, as a damaged panel (just the frame was damaged) through a friend of Kati’s who works in the solar industry. Later, we discovered that you can’t actually get one of these without leasing an entire residential system! So now we have the most efficient panel in the market, but unfortunately I can’t tell you where to get one.
What I can tell you is that 345 Watts of solar has been perfect for us so far. Our
house battery runs our vent fan, refrigerator/freezer, lights, charging stations, and occasionally a couple of
boot dryers. It is worth considering that we have been lucky enough to chase good (sunny) weather around, but we know our system is oversized because most days the battery doesn't fall below 12V overnight and is topped off again by noon the next day. Even during shorter winter days, we haven't even considered rationing our power consumption at all.
As a backup, we did install a
Battery Doctor from our alternator to the house battery. This allows the van to charge our battery while the engine is running. After six months of the battery system up and running, we have only
needed to use this on two occasions:
- Once after four constantly rainy, cloudy days in the Midwest in October - the clouds were too thick for the sun to penetrate.
- Once after spending a few days at a trailhead in Santa Cruz surrounded by giant redwoods in December - we only saw direct sunlight less than an hour each day because the trees were so tall!
(As a side note, because voodoo electrical science, the alternator doesn’t do as great of a job charging the battery as the solar panel/
charge controller combo does, so we avoid charging the battery off the alternator unless the battery is super drained due to a lack of sun.)
 |
| We ran 0-gauge wires from the vehicle battery terminals through the Battery Doctor and a 150-amp breaker to our house battery. There was just enough room in the battery compartment to squeeze the Battery Doctor under the floor. |
To mount our solar panel on the van, we framed it in
80/20 aluminum extrusion and added special
mounting brackets that would bolt directly to the aluminum rails. Luckily, we also had a friend with a forklift to help us lift the panel onto the roof of the van, and secured it with both
VHB tape and bolts.
 |
| We added VHB tape, cutting out holes for bolts, in the bottom of the solar panel mounts. |
 |
| Drilling holes into the solar panel to bolt it to the 80/20 frame - don't let that drill slip!!! |
 |
| Mounting the panel onto the van! |
Lastly, to keep everything water tight, we used a couple of
90 degree cable glands to cleanly route the wires from the solar panel through the van roof into the interior where our
charge controller is mounted. (Which size gland will depend on your solar setup.)


Comments
Post a Comment