After a few miserable muggy summer nights sleeping in a
75+ degree van, we started working on a solution to bring fresh air over the
bed platform.
Our first quick fix was to try out a couple of small USB
powered fans from Wal-Mart. While these helped to move some muggy air around and
made sleeping slightly more bearable, it didn’t quite solve the problem. We
still needed a way to bring the cool night air into the van after all the doors
were closed up.
After a lot of brainstorming and product research, we
landed on a solution! We found these fancy range vents intended for RV’s, and
bought two pairs – one pair (
JR Products 50045 Endura Range Vent - 1-1/2" Flange, Black) would be mounted to the exterior of the rear doors,
and the other pair (
JR Products 50015 Endura Range Vent - 5/8" Flange, Polar White) would be mounted in the same location on the interior as a
trim piece.
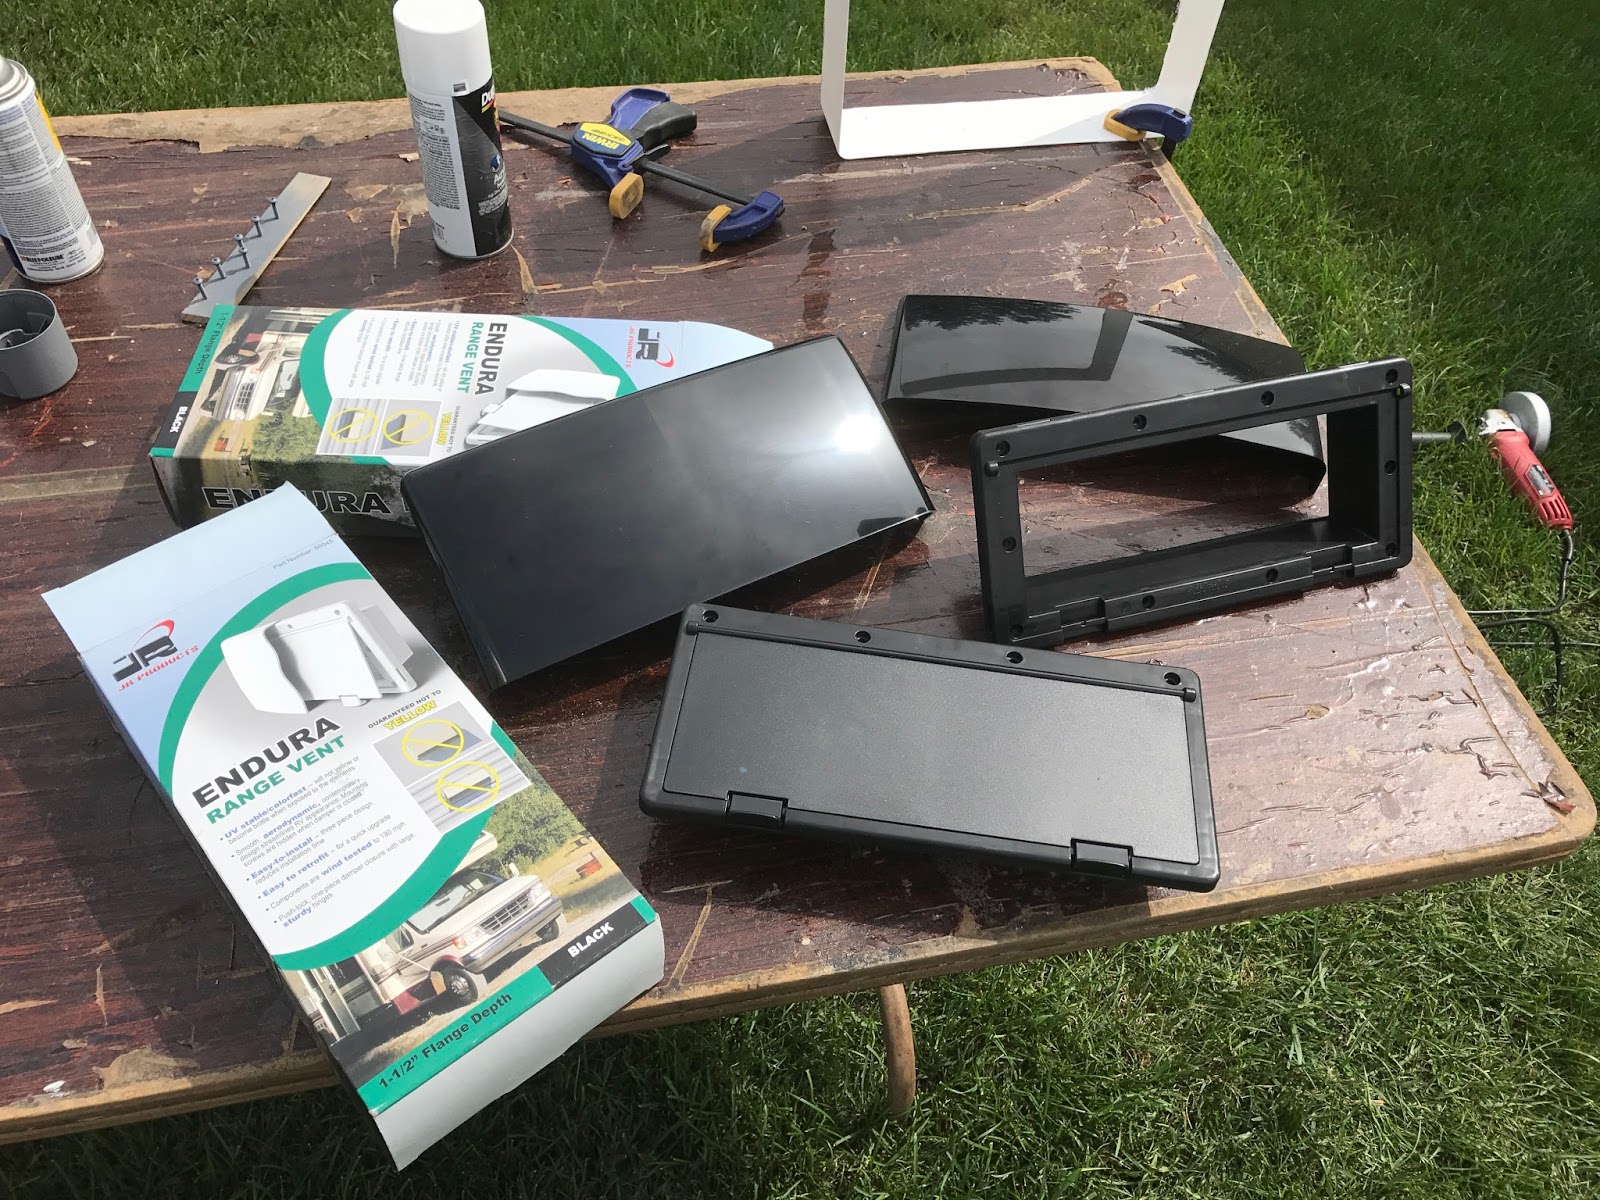 |
| The vent kit comes with a frame that mounts to your RV/van, a door that can snap open or shut, and a rain cover that snaps onto the installed frame. |
This was another terrifying episode of “let’s cut some holes in the van!” However, we had learned our lesson from cutting the hole for our vent fan and this time we used an actual cut-off wheel and cut our hole to size the first time. Still, this process can be nerve wracking. We added a lot of extra tape to try and protect the van's paint from the hot metal chips created during cutting, and measured several times before we began to cut.
 |
| Drilling pilot holes in the four corners of our rectangular cut. |
 |
| Using a cutoff wheel to make the straight cuts. |
 |
| Ahhh! A new hole in the van! |
We removed the little door flap from the exterior vent to
allow air to be pulled from the outside of the van in through the opening. (This
product is intended to be an exhaust vent, so if we tried to pull air in
instead the door would just close itself.) When installing it onto the van, we
painted all of the cut metal with a couple coats of primer to stop any rust. We also added
Dicor butyl seal tape between the exterior trim piece and the van, and
Dicor lap sealant to fill the gap on the interior of the van to prevent any water leaks. The
gloss black vent cover did not match the black plastic trim of the van very
well, so we spray painted them a matte black instead. Now that they are
installed, they do not look out of place at all!
 |
| After the exterior vent was in place and sealed up, we replaced the Thinsulate insulation in the door around the new vent. |
 |
| Final exterior look - the new matte black paint matches the rest of the exterior plastic perfectly! |
On the inside of black vent flange, we taped some extra
screen material to stop any bugs from entering the van. On the inside of the
white vent flange, we taped a shroud of Ensolite foam to ensure the air would be
flowing into the van interior, rather than into the door structure. We also sewed
up little insulation pillows to stuff in the vents to prevent air from flowing
over our heads during cold nights.
 |
| Taped a shroud of Ensolite around the flange of the interior vent to prevent air from flowing out between the vents and into the rear door cavity. |
 |
| White interior trim piece installed - it matches the white LED lights and our white vent fan trim piece in the ceiling. |
 |
Final result!
Notice how we mounted the interior vents upside-down so that the doors would hang out of the way of airflow when opened. |

Have you guys tested if these leak air on cold days when you don't want a breeze?
ReplyDeleteWe have! When closed they don’t let any air through. We also made little insulation pillows that we put inside the vents when closed, which helps to reduce noise from coming through the vent, but those aren’t necessary to stop airflow.
Delete